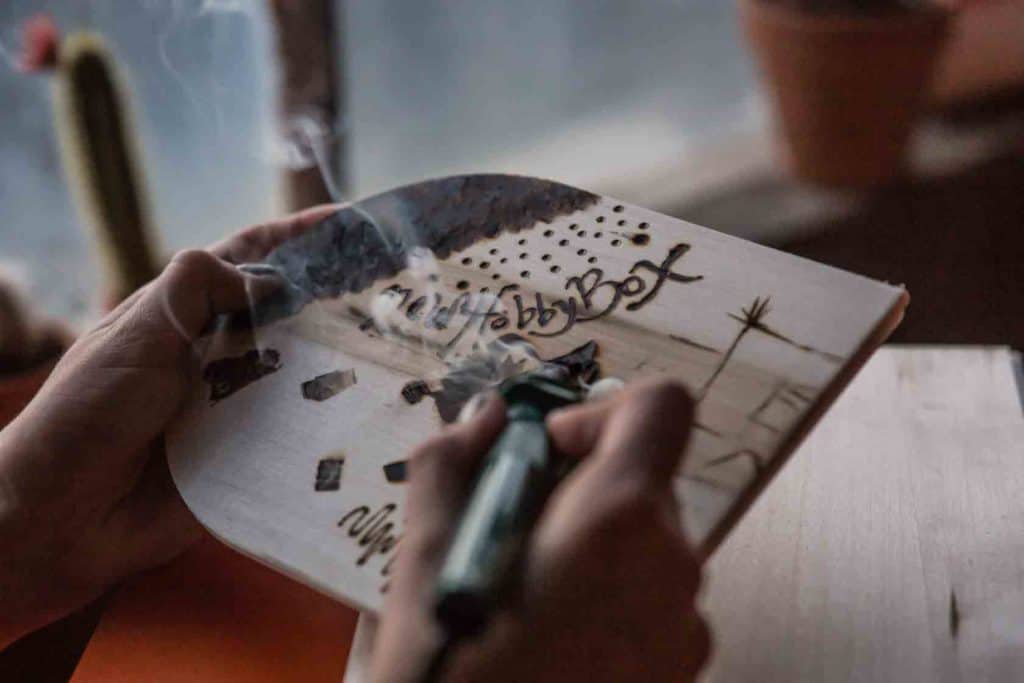
The term “pyrography” means writing with fire – and dates back to the Chinese Han Dynasty when it was called “fire needle embroidery.” Today, instead of heating a fireplace poker over flames, we have some awesome tools at our disposal. Making it even easier to bring your pyro-dreams to life.
This tutorial covers all the basics of woodburning – from choosing the right tool, creating different styles of linework, transferring your design, and finally burning it in.
If you’re new to woodburning or just looking for some tips and tricks, this is the article for you! Let’s get started on your new hobby!🔥
SUPPLIES NEEDED FOR WOODBURNING
There are a lot of kits out there for woodburning, but we’ve found that getting individual components is commonly more affordable for the quality needed to have the most fun with it.
So, below, we’ve linked to individual supplies needed, specific to what you’ll see throughout the guide.
- Basswood sheets or basswood plaques (this tutorial uses basswood plaques)
- Woodburning pen with 4 tips and stand
- Colored pencil set – 36 pencils, sharpener, and carrying case
- Black carbon transfer paper – 100 sheets
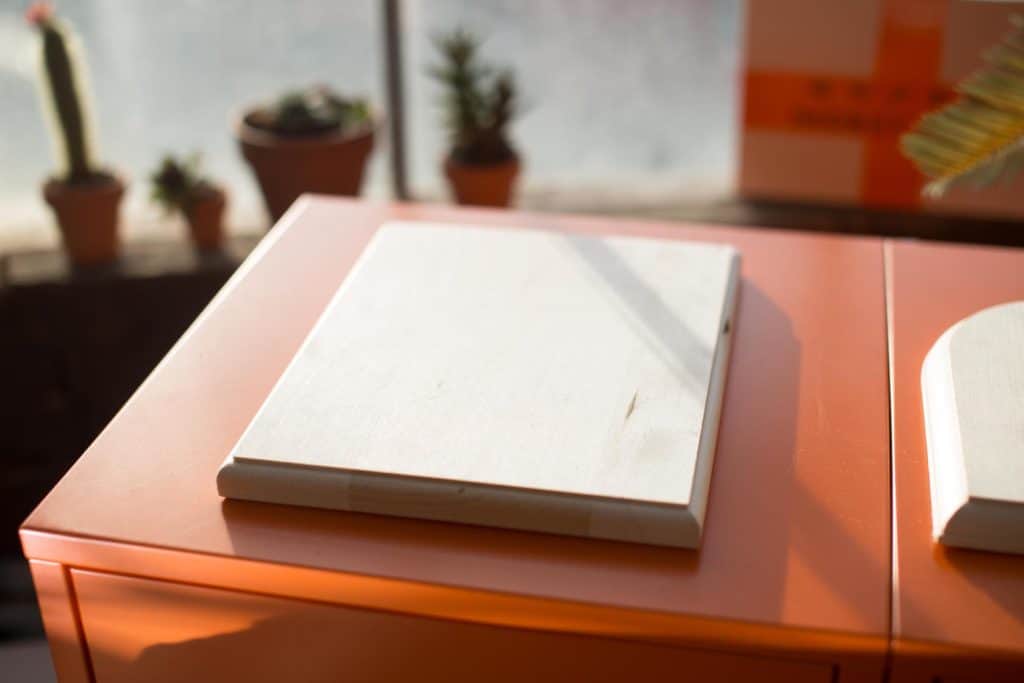
Basswood Quality Matters
For this tutorial, we used a Wisconsin basswood. It’s a popular choice for woodburning hobbyists because of its uniformity, light golden color, and fine texture with little grain.
Basswood burns easily and its natural color complements the warm brown of the wood burning.
Plus, it’s an easy wood to sand if there are any imperfections, just be sure to only sand in one direction.
THINGS TO NOTE BEFORE WOODBURNING
You’re about to start a hobby that literally means “writing with fire,” so exercise caution here. Some housekeeping items include:
- Work in a well-ventilated area
- Don’t work near any flammable materials
- You can wear gloves and sleeves if you like
- 🚫 DON’T TOUCH THE TIP! 🚫
Extra emphasis on that last bullet point. Ok now, just a couple more things – let’s have a look at your pen and tips.
Getting to Know Your Woodburning Pen and Universal Tip
We recommend playing around and practicing with the woodburning pen before starting your first project. The universal tip that comes attached to your pen is the best place to start.
THE UNIVERSAL TIP
This woodburning tip is versatile, which you might expect for something with the name “universal.” It’s sort of the Swiss Army Knife of tips, it can do everything because it has a point, tip, blade, and sides. All of these make the universal tip great for line work.
With the universal tip, you can simply move or hold your pen differently to create a variety of effects easily, without needing to change points.
Oh, and just a reminder… 🚫 NEVER TOUCH THE TIP! 🚫
Now then, let’s take your woodburning pen for a test drive.
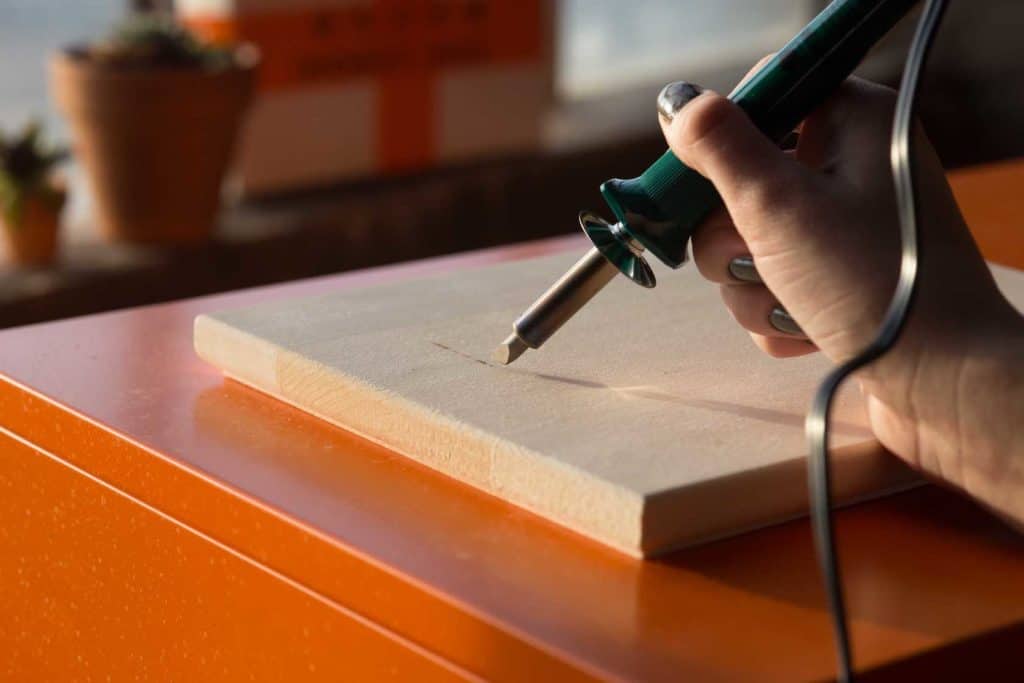
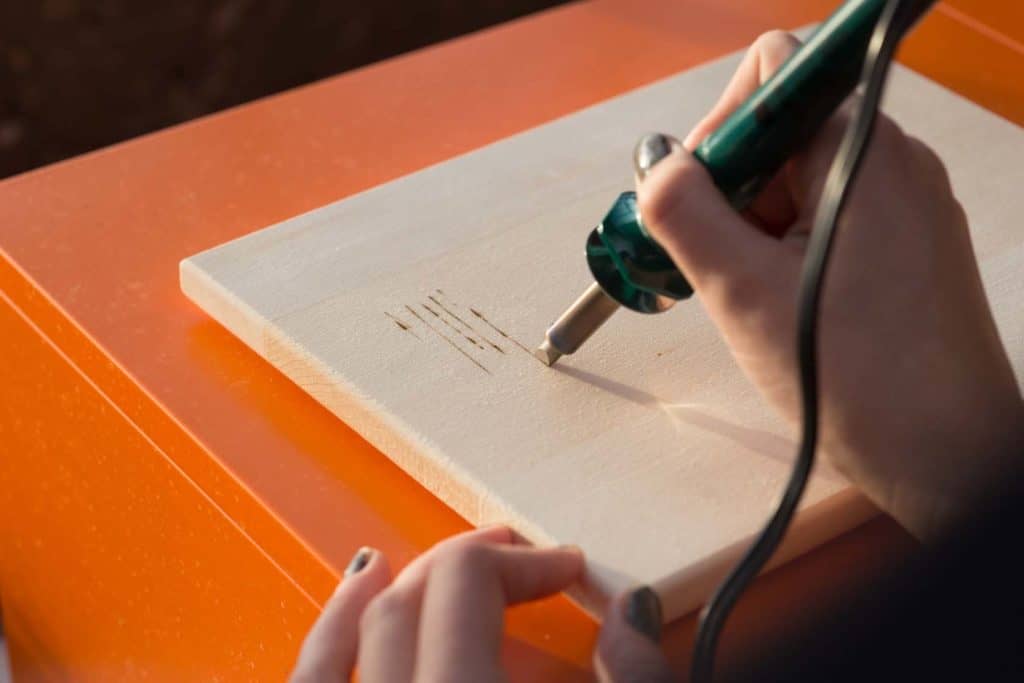
HOW TO DRAW LINES WITH A WOODBURNING PEN
Grab a sheet of basswood, or if you are using basswood plaques then flip one of them over.
You’ll use these to practice some line work; this will help you get a feel for how the pen and tip work before you really get started on your project.
Two things to keep in mind as you try out your woodburning pen:
- For greater control, always move the pen towards you.
- Hold your pen lightly- squeezing it will fatigue your fingers and make them hot to boot.
Below, you’ll learn how to draw three styles of lines – these will act as the building blocks for any design you ultimately decide to create.
1. How to Draw Fine Lines With a Woodburning Pen
- Place the “blade” of the tip on the wood so that it runs north and south in front of your body. (“blade” is the sharp, line-shaped region of the tip – looks like a blade on an ice skate)
- Pull the pen slowly toward you at an even pace
- Don’t press down, just let the line rest on the surface – if you push down your line will wiggle and vary in width
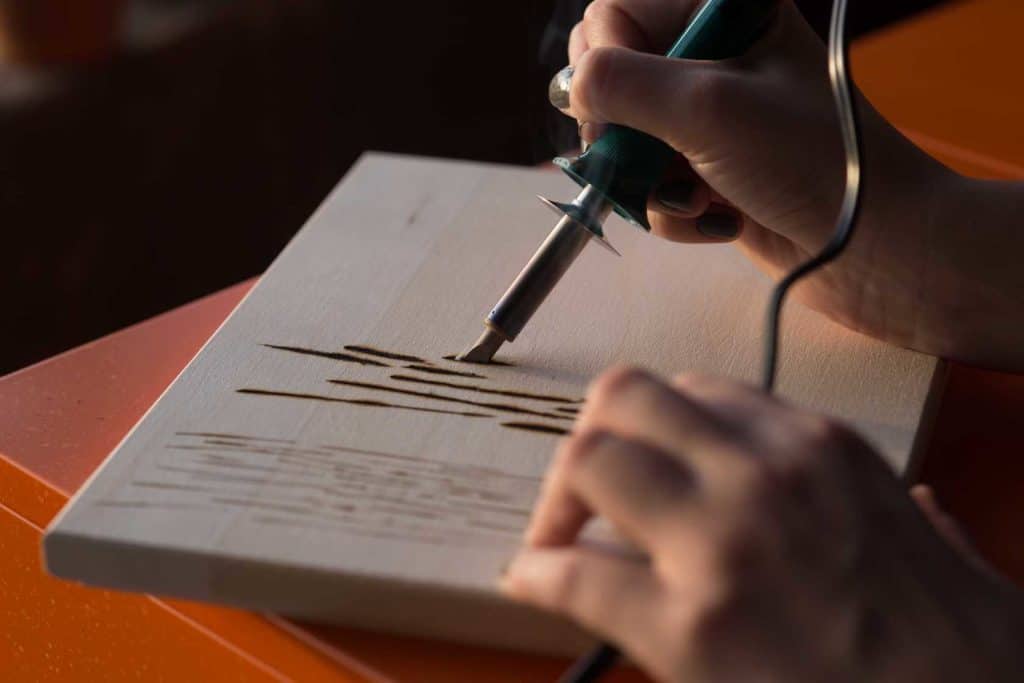
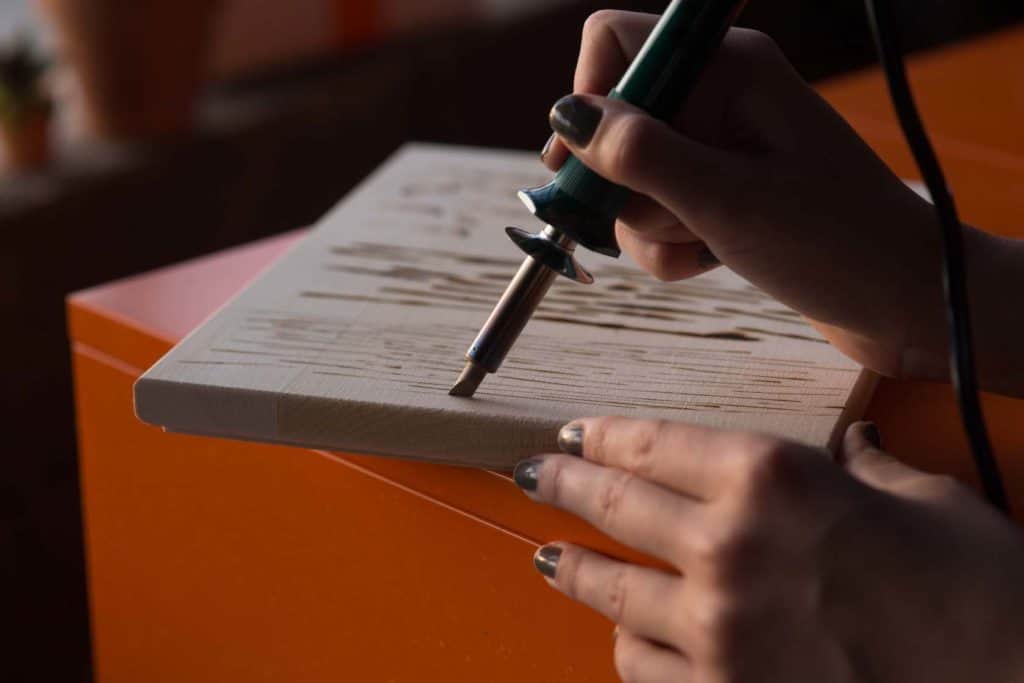
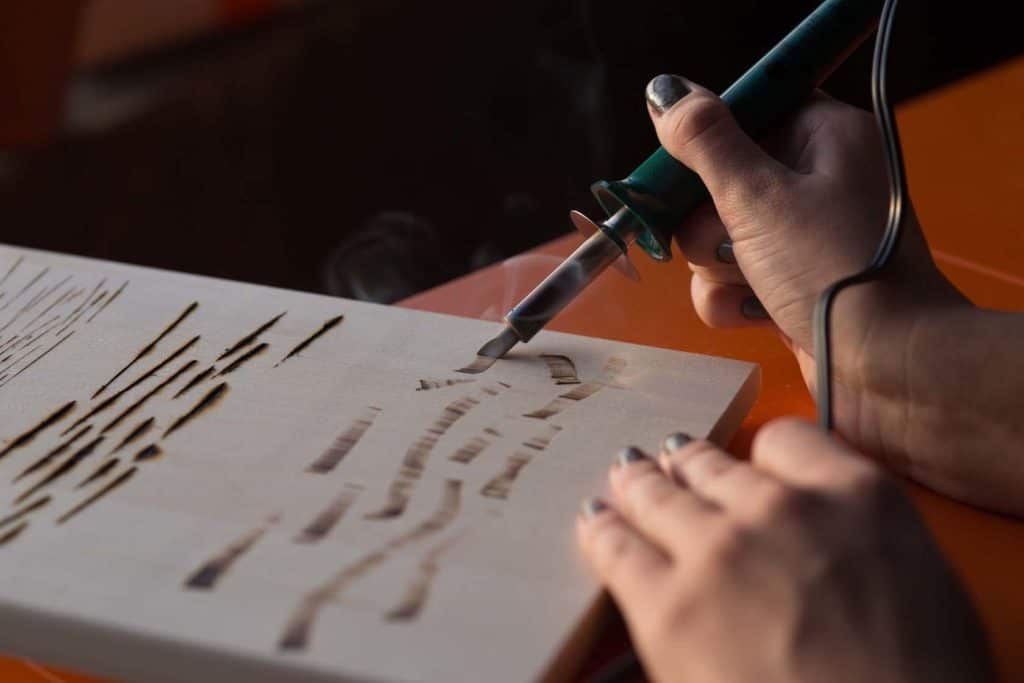
2. How to Draw Bold Lines With Your Woodburning Pen
A bold line is a mix of darkness and width, created with pressure and angles.
- Touch the tip of the point – the most acute angle – to the wood
- In one motion, pull the pen towards you so that the blade of the tip has full contact with the wood, and apply slightly more pressure than the fine line
- Kick the heel of the tip out at 20 degrees, and slowly and carefully pull the pen towards you
When you kick the heel out, you can try different degrees to see how it impacts the boldness. Additionally, the more pressure you apply, the deeper and darker your line will be.
3. Making Soft Lines With A Woodburning Pen
Soft lines are going to be the most useful for drawing the outlines of curves and organic shapes, doing rapid sketches, or adding a light gradient to fill a background. They’re simple to do too.
- First, you’ll lean the tip on its side at about a 15-degree angle
- “Float” the tip on the wood surface – sort of like it’s barely touching the wood grain
- Let the tip barely glide over the wood surface without pressing down – it’s important to note that you’ll need to go east or west with this stroke, whichever is away from your body
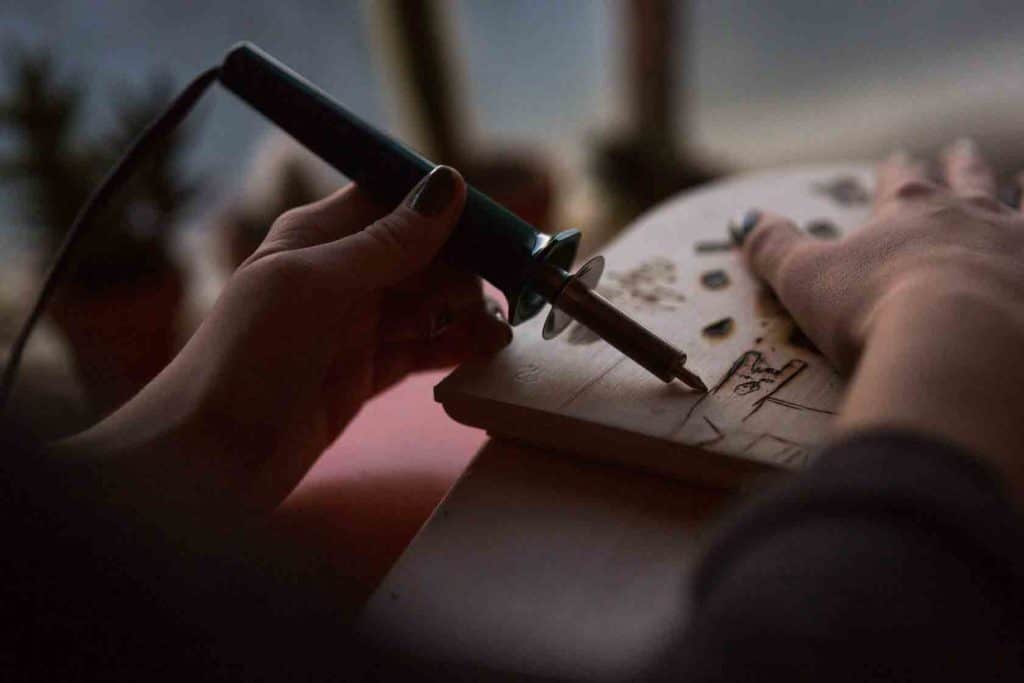
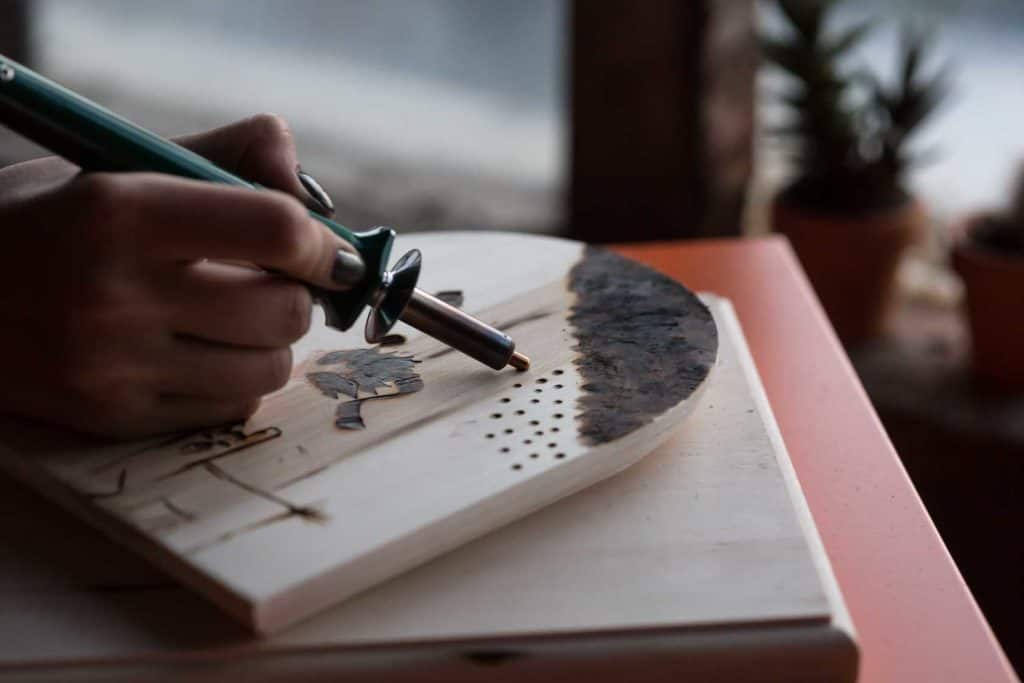
CHANGING OUT WOODBURNING POINTS
All woodburning starts with lines – this forms the shape and outline for the work. For example, forming a design, sketching a picture, or even writing words all start with lines.
Your woodburning pen is very versatile in creating lines by moving or holding it differently and becomes even more versatile when you add different tips to it.
The more you master the tips/points, the more visual interest you can bring to your work!
In addition to the universal point already attached to your pen, if you purchased the same pen linked above, you’ll find a cone point, shading point, and flow point.

Shading Point
The shading point offers a wide variety of shading subtleties. Use the shading point for large, dark areas – like backgrounds or filling in certain areas.
Slowly moving the shading point over an area creates a rich, dark look. It removes negative space, adding depth to your image. Moving it faster will create a lighter woodburn.
To create a graduated shading technique, pull slowly at first and then gradually get faster.
Cone Point
Use the cone point for lines, curves, dots, and small details. You can group segments of these fine points to create a crosshatch pattern. Crosshatching adds rich texture to a piece.
You can also create a pointillism look as well if you create a large group of tiny dots. To add richness and darkness, just concentrate the dots more heavily in one area. To weaken the effect, have fewer points in one area.
Pointillism is a beautiful technique for shading, especially if the entire piece is done in this method.
Flow Point
The flow point makes it easy and quick to burn curves and dots into your basswood. It’s great for creating bold lines, dots, and dotted patterns. To create dark dots, hold the flow point in the same position for a longer amount of time.
This point can also be used for cursive writing or calligraphy.
If you need a refresher on how to write calligraphy, check out the New Hobby Box tutorial that will teach you eight calligraphy strokes, so you can write anything.
TRANSFERRING IMAGES FOR WOODBURNING
One of the coolest parts about woodburning is that you can transfer any image onto wood. This is how people get super-realistic portraits or images with a lot of detail.
You’ll need the carbon transfer paper from the supplies list for this process.
Now then, let’s find some inspiration for your transfer.
Ideas and Inspiration For Woodburning Images
Great places to find inspiration for your project include:
- Clip Art
- Craft Stamps
- Stickers
- Photos
- Coloring Books
How To Transfer Images for Woodburning
- Place the carbon side of your transfer paper down on the wood
- Secure the transfer paper with tape to the wood
- Place your pattern on top of the transfer paper- design side up
- Finally, using a fine ballpoint pen or pencil, trace your pattern through the graphite paper onto the wood pressing firmly – but not too firm, that could scar the wood
Using Colored Pencils for Woodburning
When using colored pencils, apply color either in lines or in a circular motion. The amount of pressure applied affects the intensity of the color, producing a light medium or dark shade of color. The colors can be softened or blended very easily.
There are three basic techniques you can use to apply color to your woodburning design; burnishing, transparent layering, and flat color application.
BURNISHING COLORED PENCILS FOR WOODBURNING
When burnishing, the goal is to apply heavy pressure to an area to completely cover the texture of the wood so that the colored area looks like one solid color.
Use this technique over the transparent layer technique (explained below) until the colors are opaque and solid.
TRANSPARENT LAYERING OF COLORED PENCIL FOR WOODBURNING
When transparent layering, it is very important that you plan your color sequence carefully.
Before you begin, make sure to lay down a preliminary series of undertones with gentle pressure. Begin this technique by filling in a succession of multiple colors with a sharp colored pencil and very gentle pressure to a specific area.
Using the same color sequence, reapply the color using a successively heavier pressure.
FLAT COLOR APPLICATION FOR COLORED PENCIL IN WOODBURNING
Flat color application is known to be the easiest of the three and the best for graphic designs.
To create rich, flat, graphic colors on wood, you will use the burnishing technique, but instead of layering multiple colors underneath, you may use just one color in each section.
Press hard enough so that the texture of the wood completely disappears.
Our advice is to experiment and have fun in any way that you’d like. Expert burners will tell you to use one of the three techniques above. But only do that after you’ve had a good time and tried it all out….
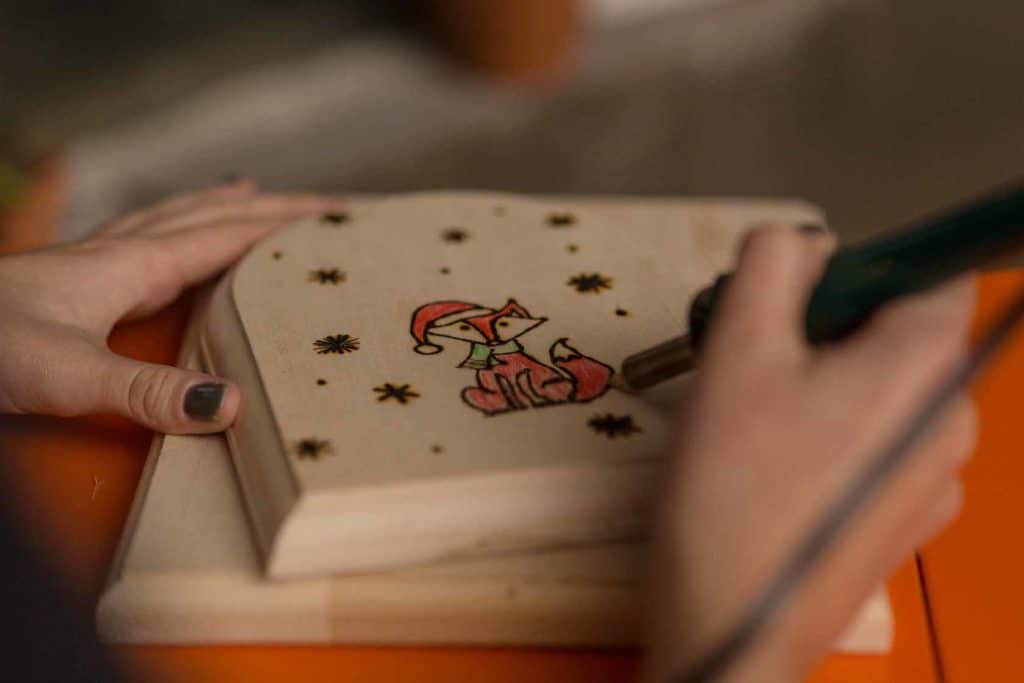
We came out with equally satisfying results. 🦊❄️
Don’t know where to start? Check out the New Hobby Box woodburning board for some inspiration.
We hope you fall in love with this hobby – plus with the right tip, your woodburning tool can act as a soldering iron for the New Hobby Box tutorial that shows you how to make a portable USB charger with an Altoids tin.
If you take photos of your creations… share the love and make us smile @NewHobbyBox 🙂
Happy Hobbying,
Your friends @NewHobbyBox